Themes
The first step in your new journey to business excelence is feeling just like home in your new digital platform. In AppliQloud, you can create themes to customize the look and feel of the platform. AppliQloud comes by default with a light theme that has the identity of AppliQloud embedded in the colors and images of the theme.
In these guides, we will guide you through the perspective of a new company that just started using AppliQloud. We will start by creating a personalized theme for this company.
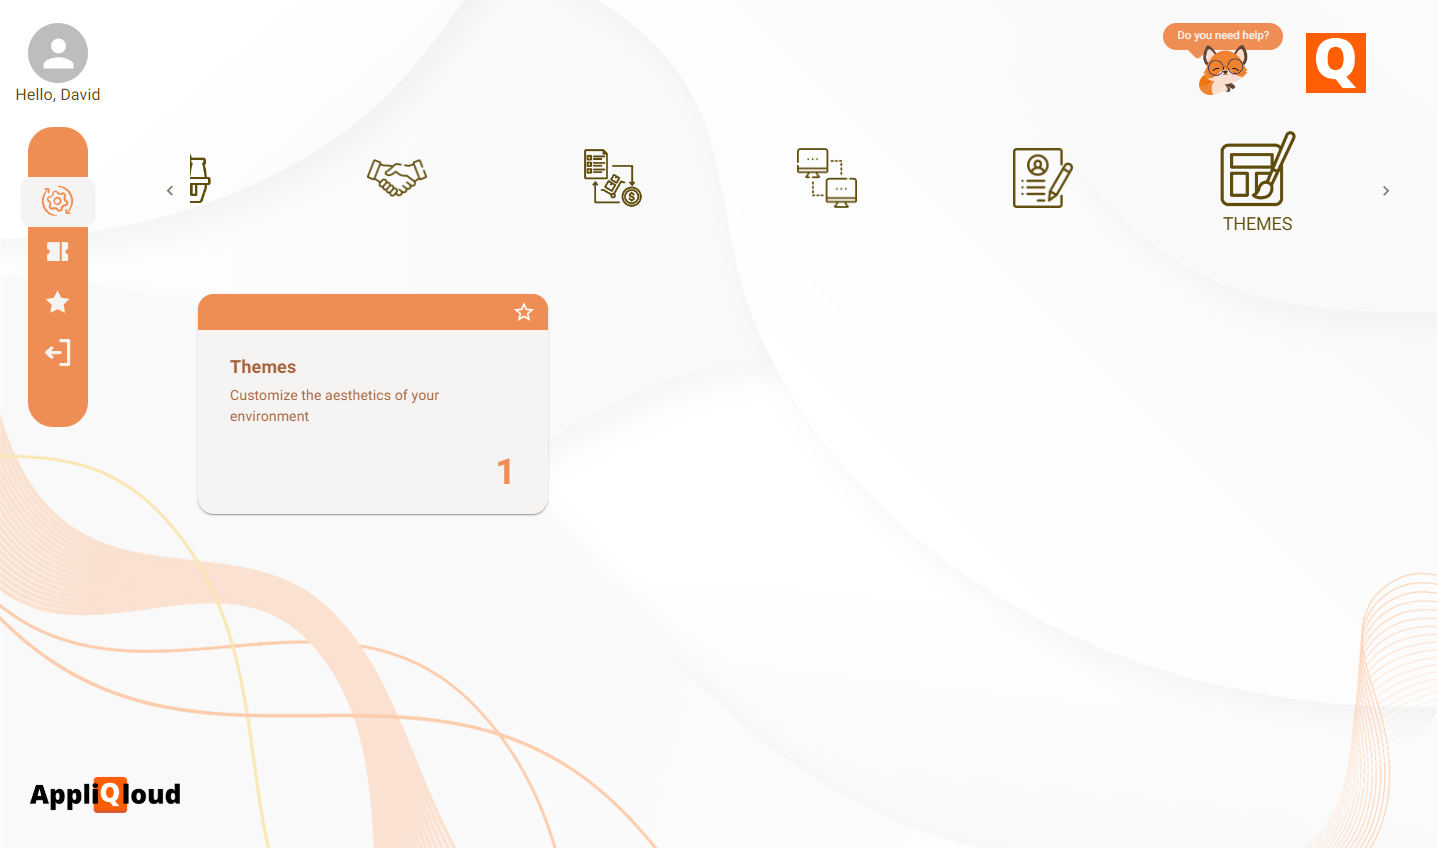
Since this is the first guide, we need to introduce some key concepts like card groups, cards and reports. These objects compose the backbone of the AppliQloud environment.
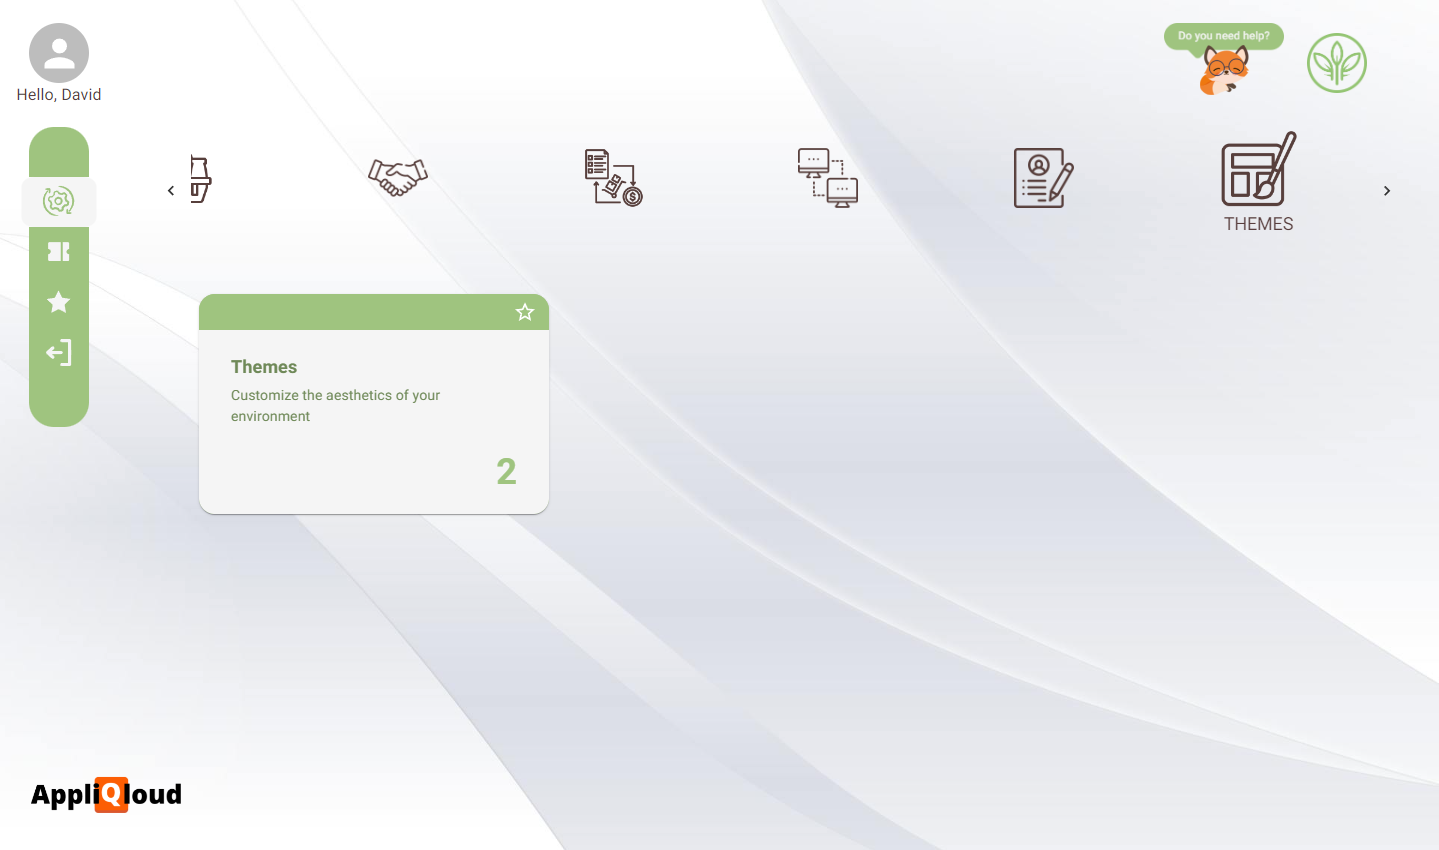
Card groups are collections of applications that share a common theme, for example, to manage themes, we will access the THEMES card group. Once we click on the group, we will see one or more cards pop up on the screen. These cards contain an access to an application when clicked, and display some general information like a title, description and sometimes, a KPI. Let's click the Themes card and enter the Themes application.
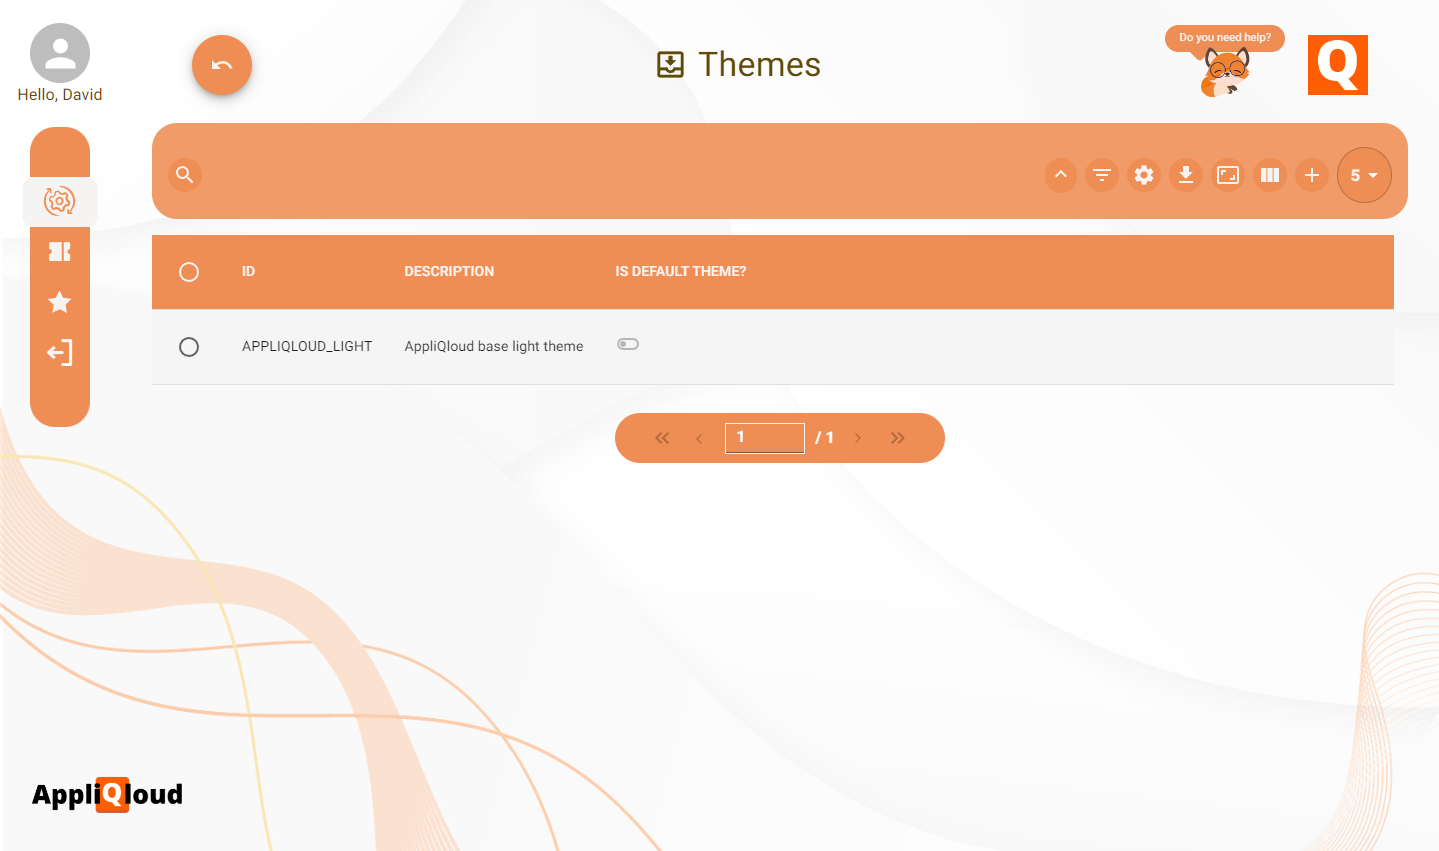
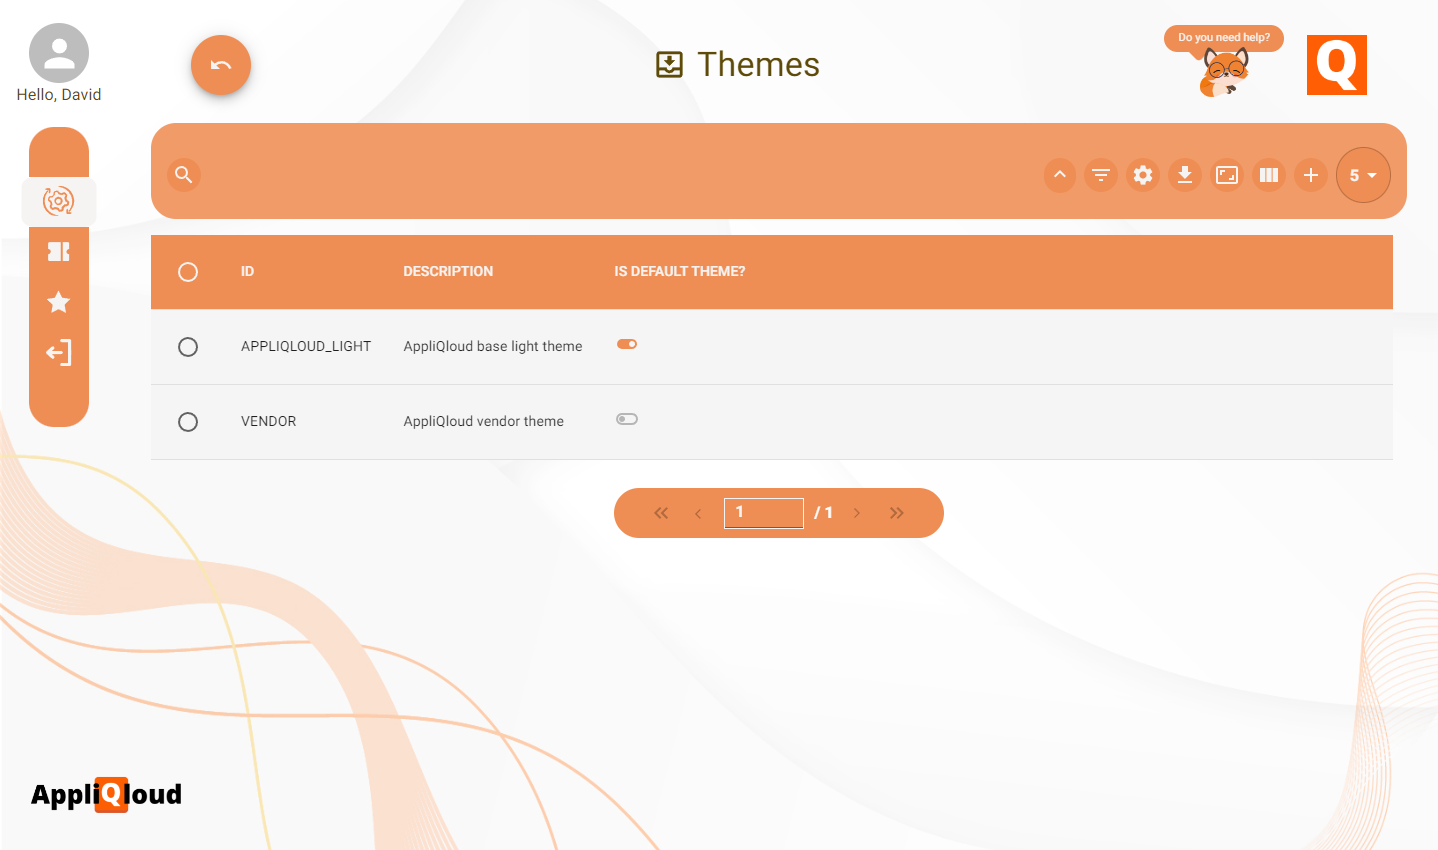
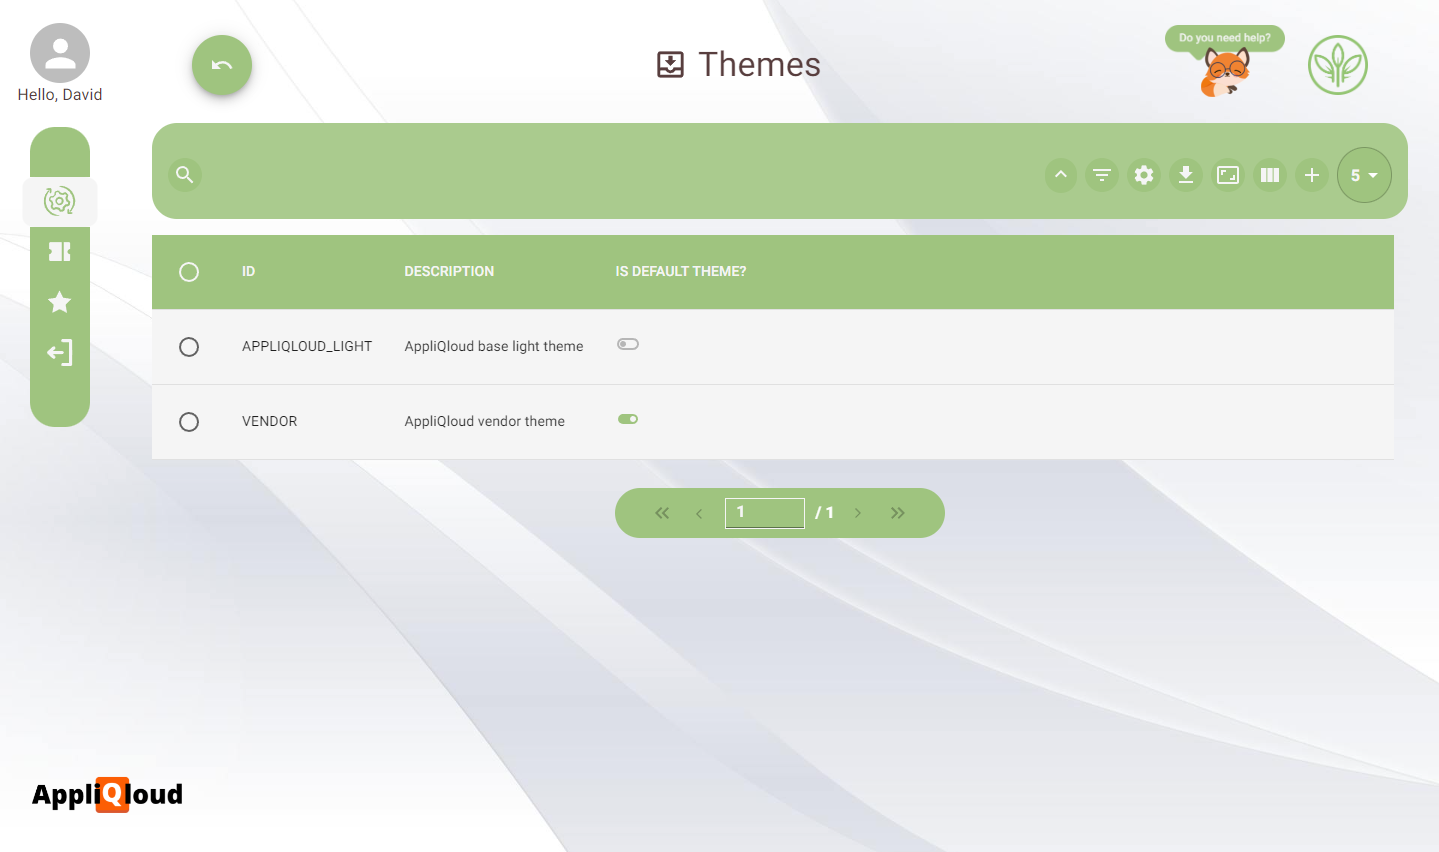
When we first enter any app, we will see the reports page, which is a table that contains all of our business objects with some of their attributes for us to see. In this case, we can see that the only theme we have is the default AppliQloud Light theme. Most applications have a creation form that can be accessed through a + button in the top right of the table. Click on this button and start creating your first theme.
Usually the first step in any creation form is to provide some basic data about the object we are creating, in this case, an identifier for the theme.
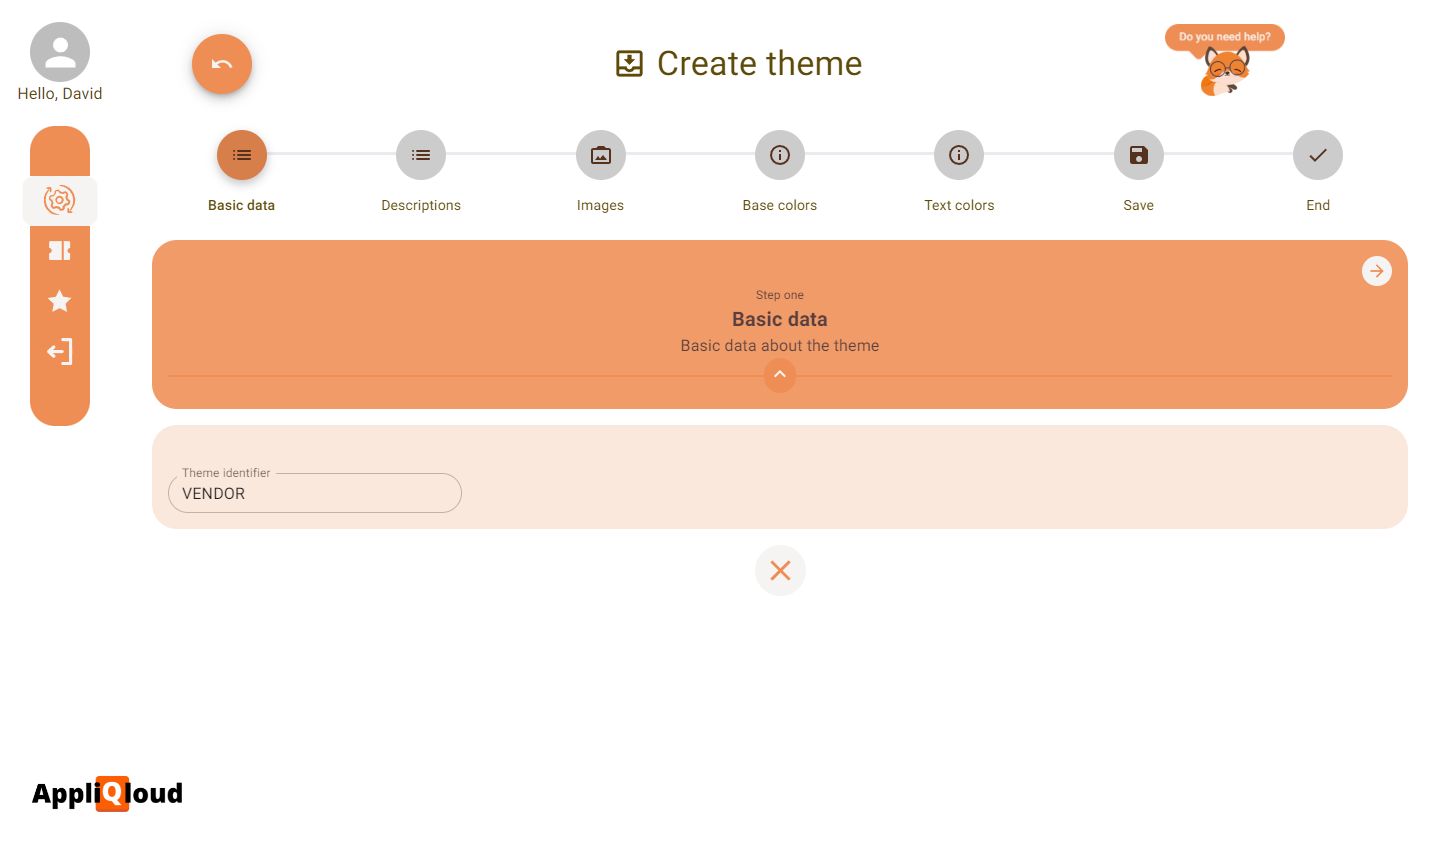
AppliQloud identifiers can be in any format as long as they are unique, however we recommend using short, uppercase names as a good practice (ex. APQ-LIGHT).
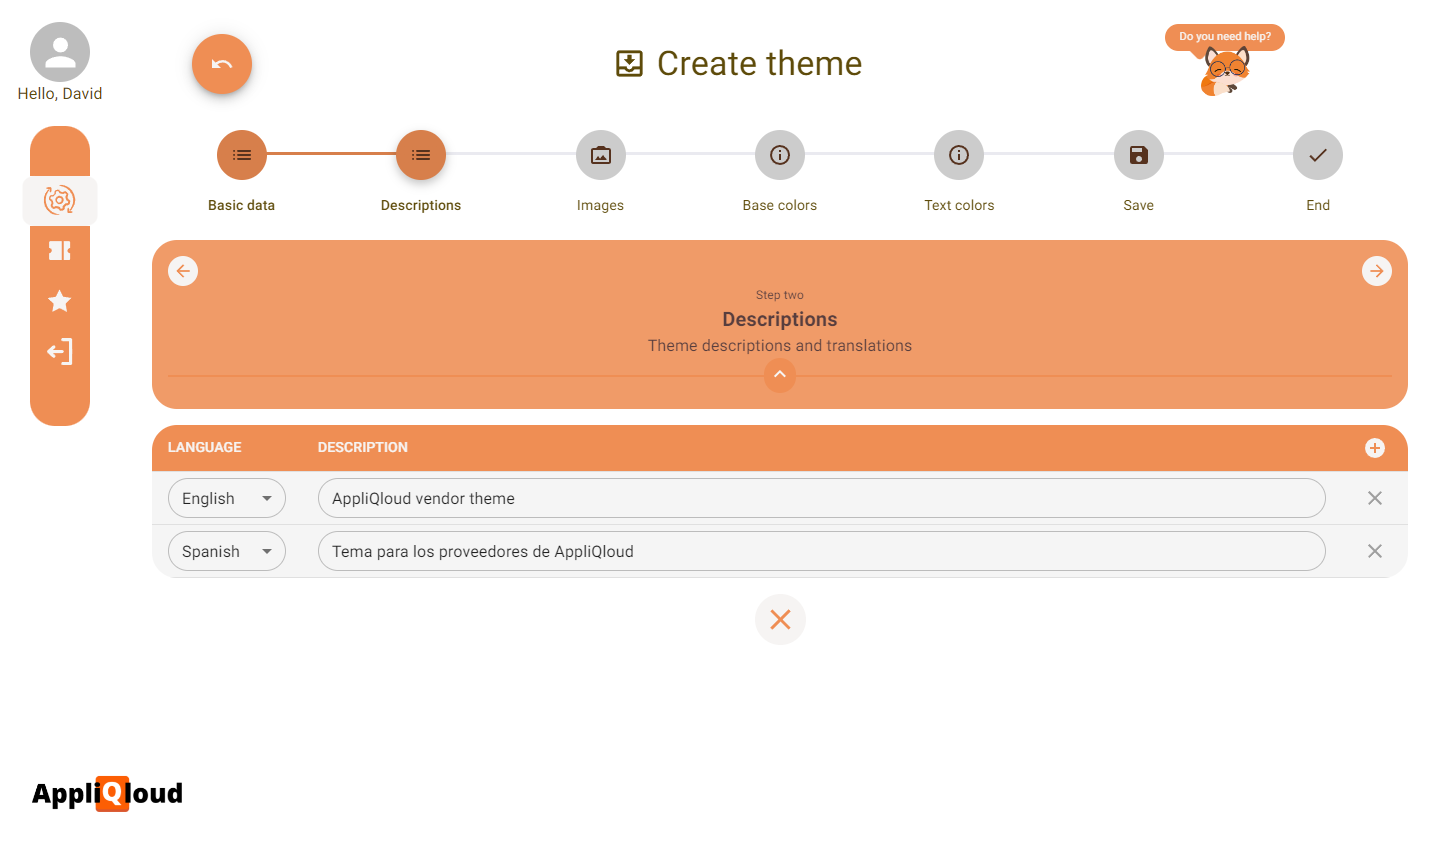
The next step is also very common in a lot of creation forms. We will need to enter some descriptions about our object, but since AppliQloud is designed to handle multiple languages, we will need to provide a description for every language we want to define. As a general rule, you need to provide at least the English (en) language, since it is the default language of AppliQloud.
After this step, we will see a lot of additional steps that vary depending on the application. We will start to customize the theme by choosing our images. We must upload a background image, a company logo (optional), and choose the mode of the AppliQloud logo in the bottom.
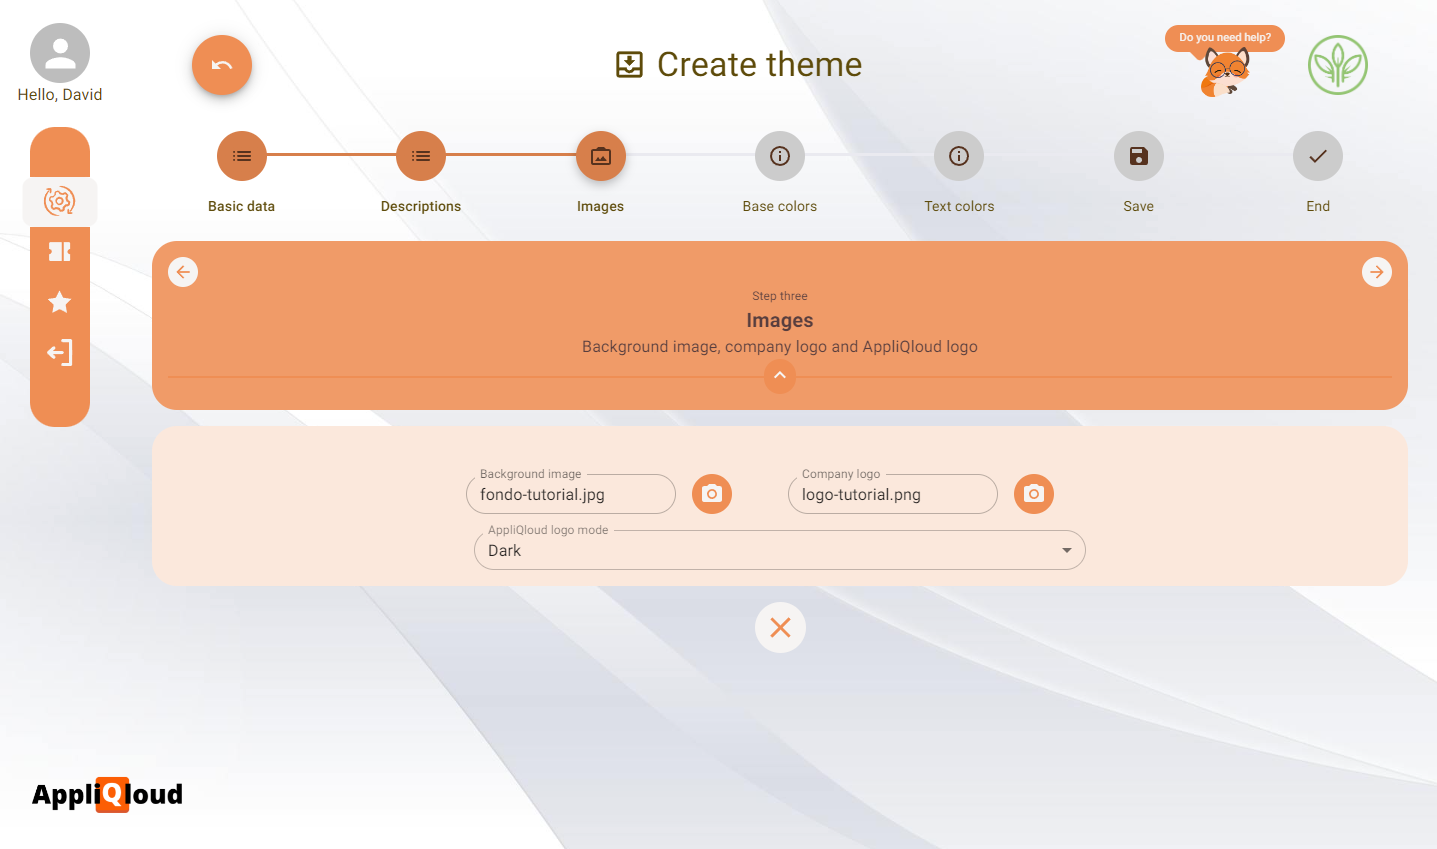
We recommend using a 1920x1080 image to use as the background, since it adapts to most monitors while preserving a high quality. You can use a lower resolution image but the background might appear pixelated.
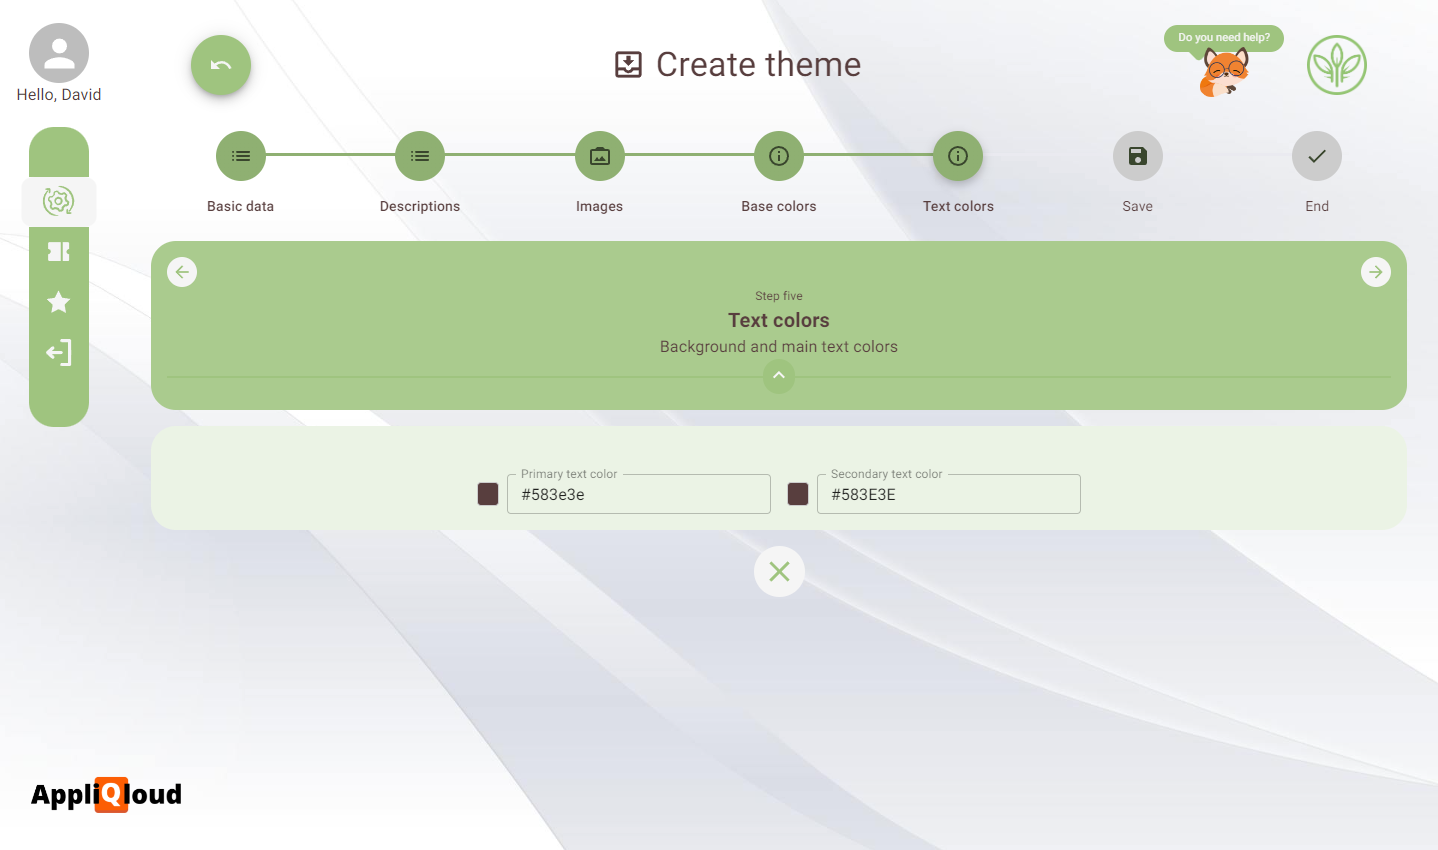
The next steps involve choosing the base and text colors of the theme. The application has a feature that automatically proposes colors based on the selected primary color, and ensures that the contrast levels of every color are adequate. For the example, we will use this feature, but if you want to modify the other color attributes, you can.

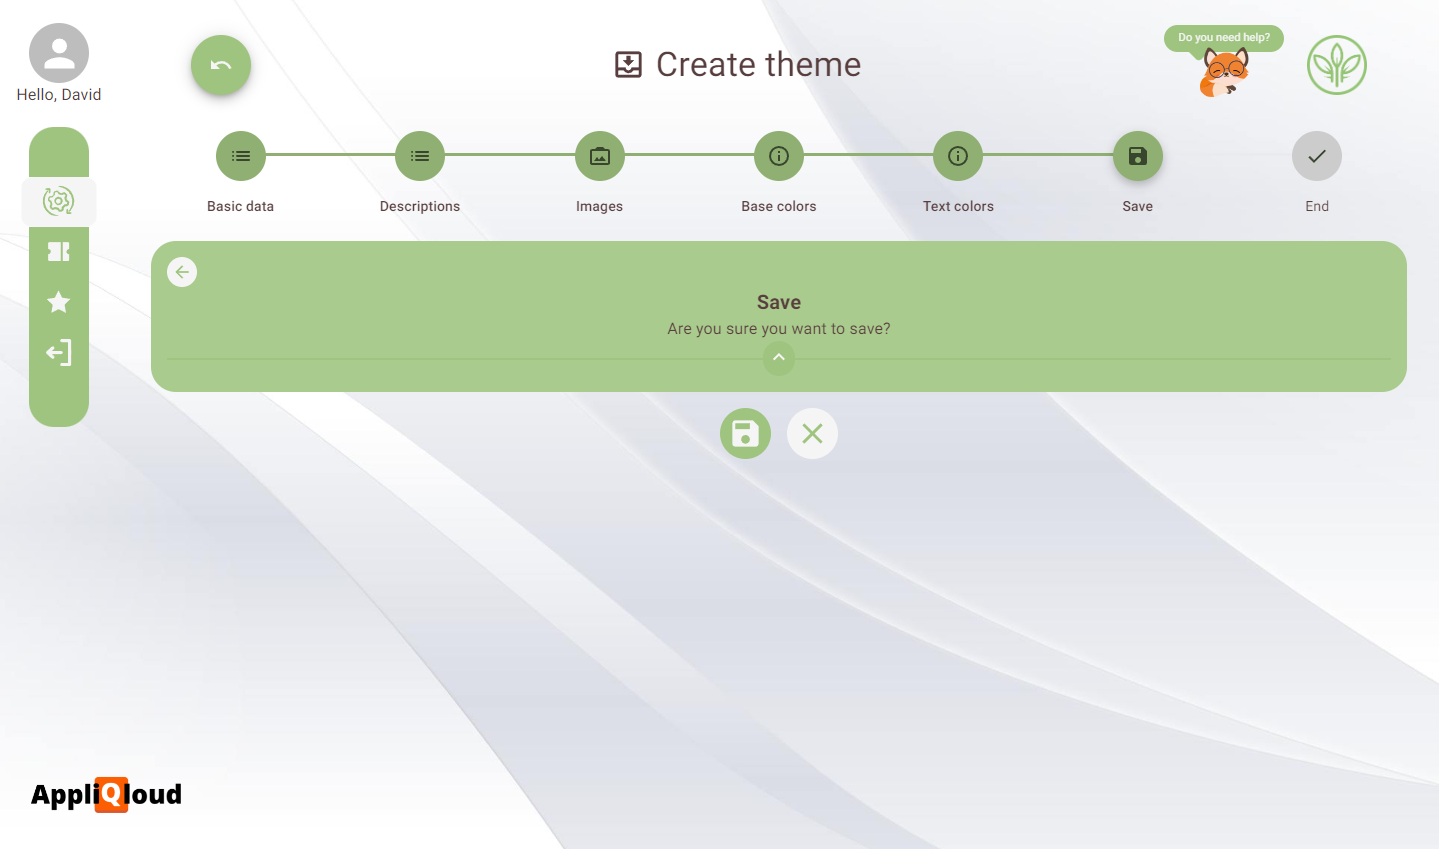
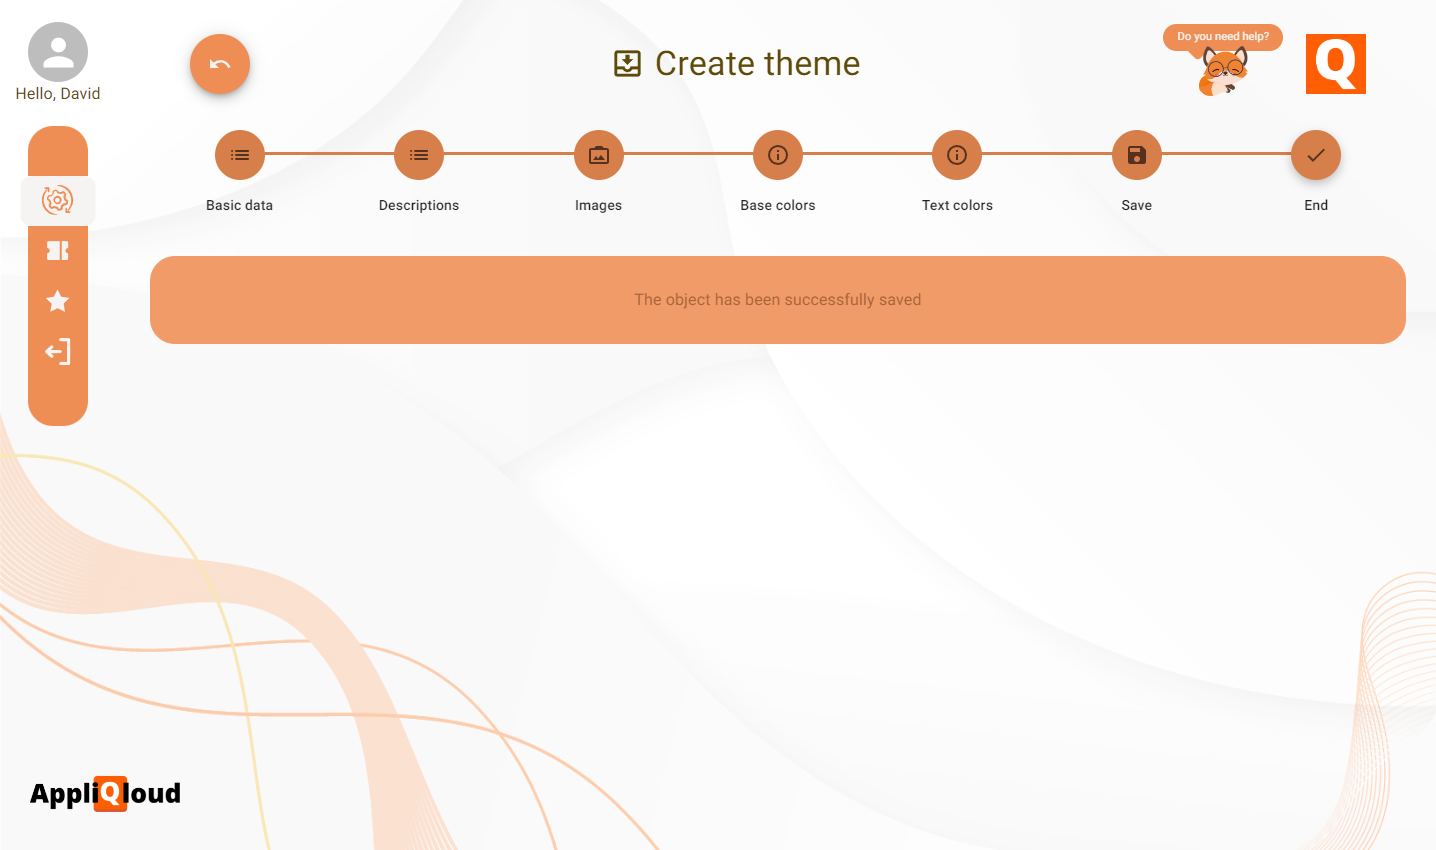
Once we reach the end of the form, we will have the option to save our theme. After we click on the save icon, we will be redirected to a success step. You will notice that the previous theme will load once we finish creating this one.
If we return to the reports page of the themes application, we should see the newly created theme as an entry in the table.
Every object in the AppliQloud environment has some associated actions that you can perform on it. Click the theme you just created to see the available actions. We will see that there are some common actions in most apps, like view, edit or delete. In this case, you can choose to set a theme as the default theme for the environment. This will make it so that every new user created will inherit this theme as their selected one.
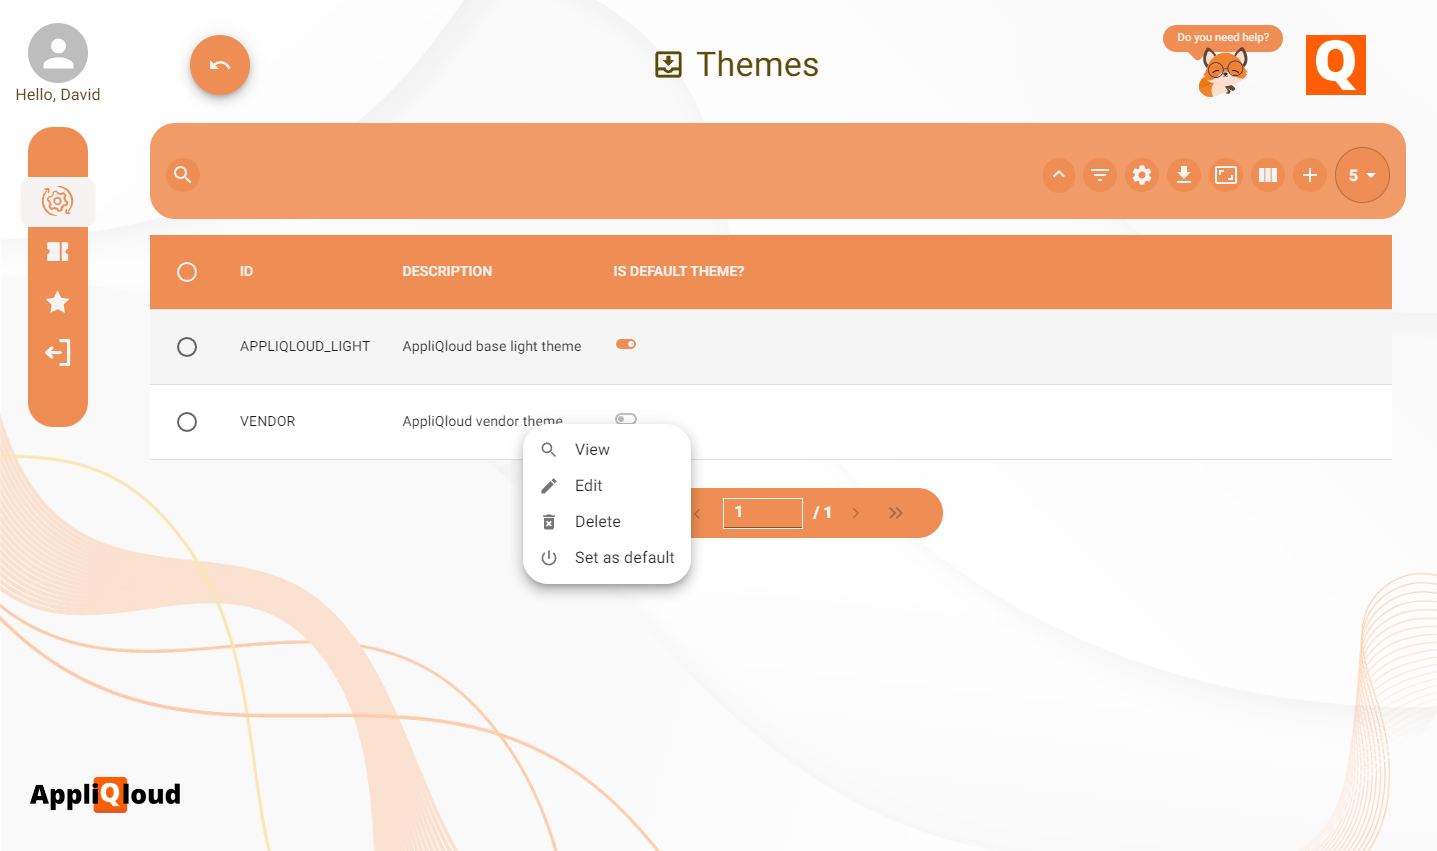
Be very careful when deleting a theme, since a user may have selected it as their chosen theme, and deleting it could lead to unexpected behavior when trying to log in.
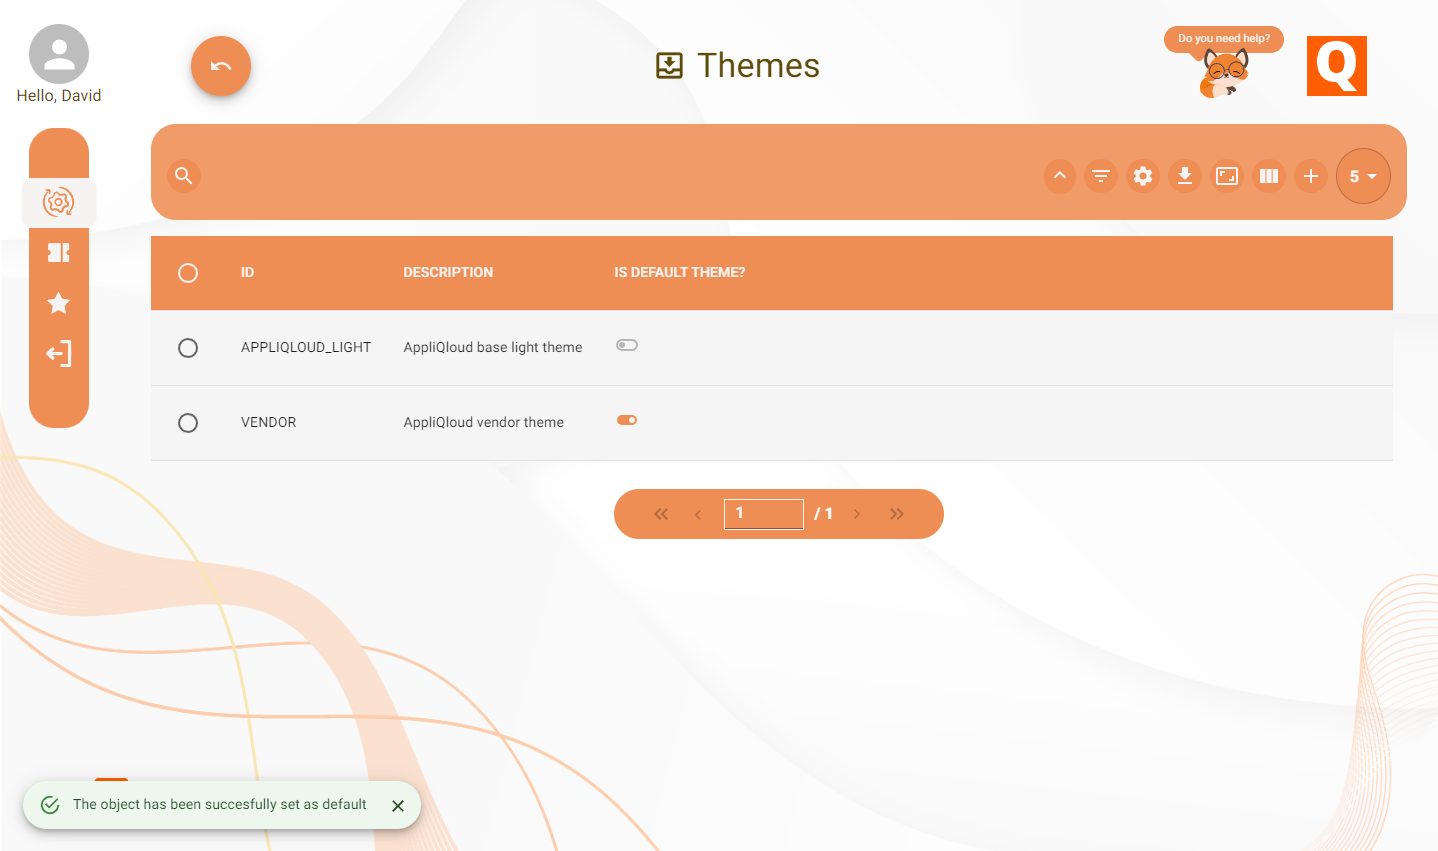
Once we click on the Set as default action, we should see the indicator change and a success message in the bottom left of the screen.
Themes are handled on a user-basis, so in order to use this theme, we need to select it as our theme in the User preferences menu.
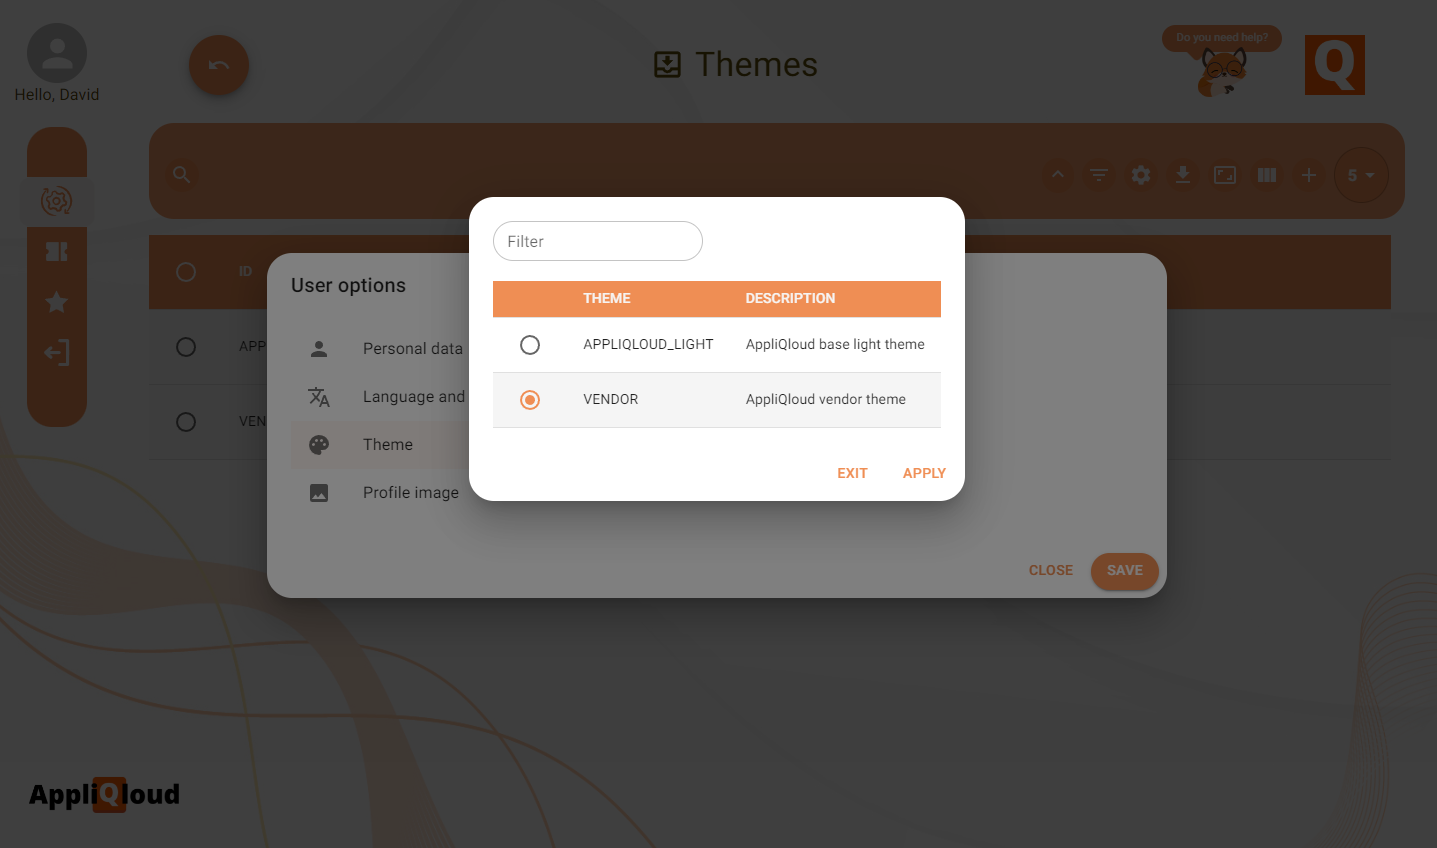
Once we save it as our theme, we should see the aesthetics of the environment match our theme.
In the following tutorials we will use the AppliQloud Light theme, but we will use this theme to show the perspective of a business partner to make it easier to follow.