Contact perspective
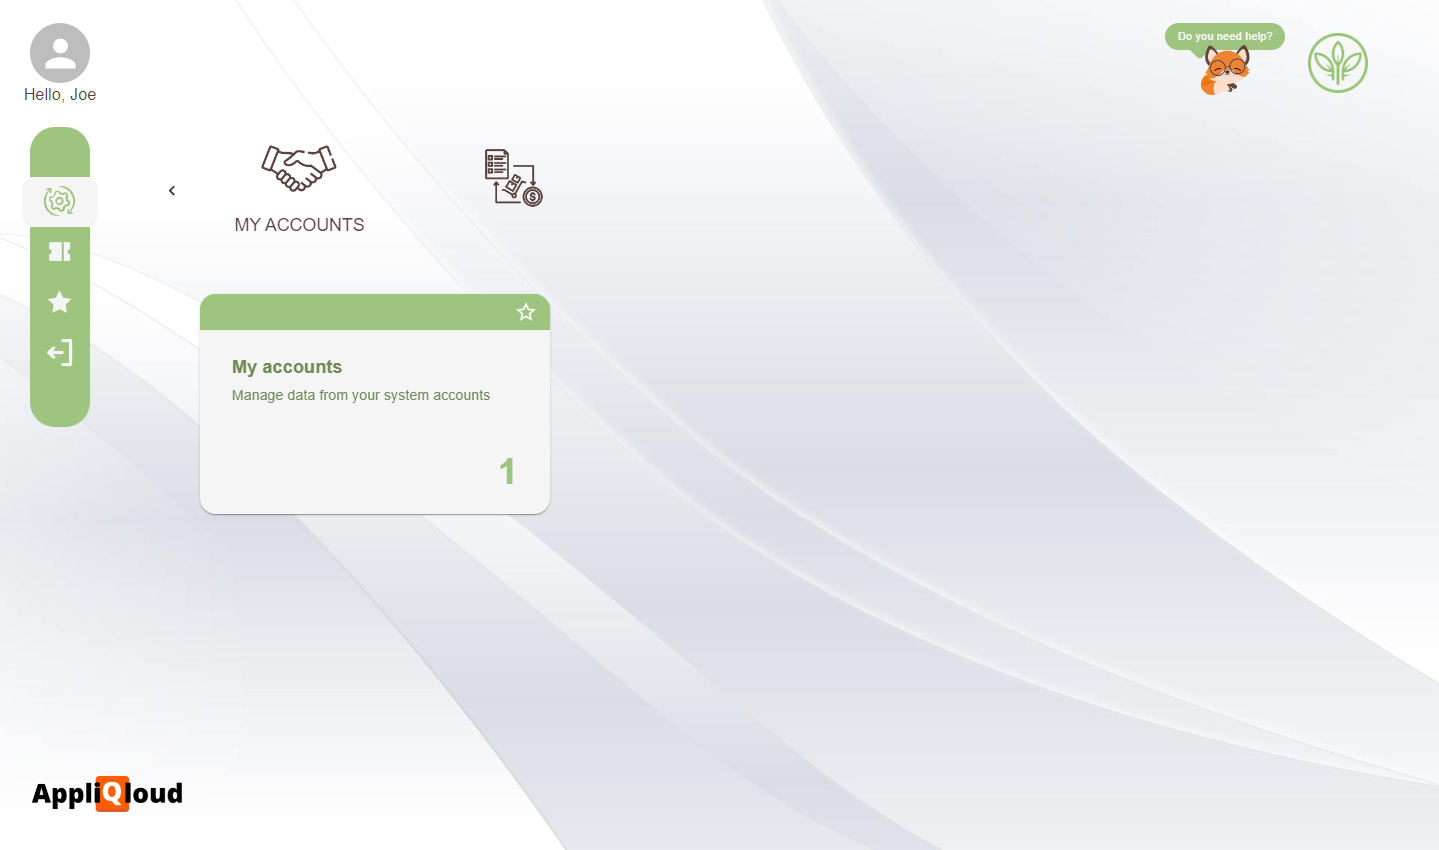
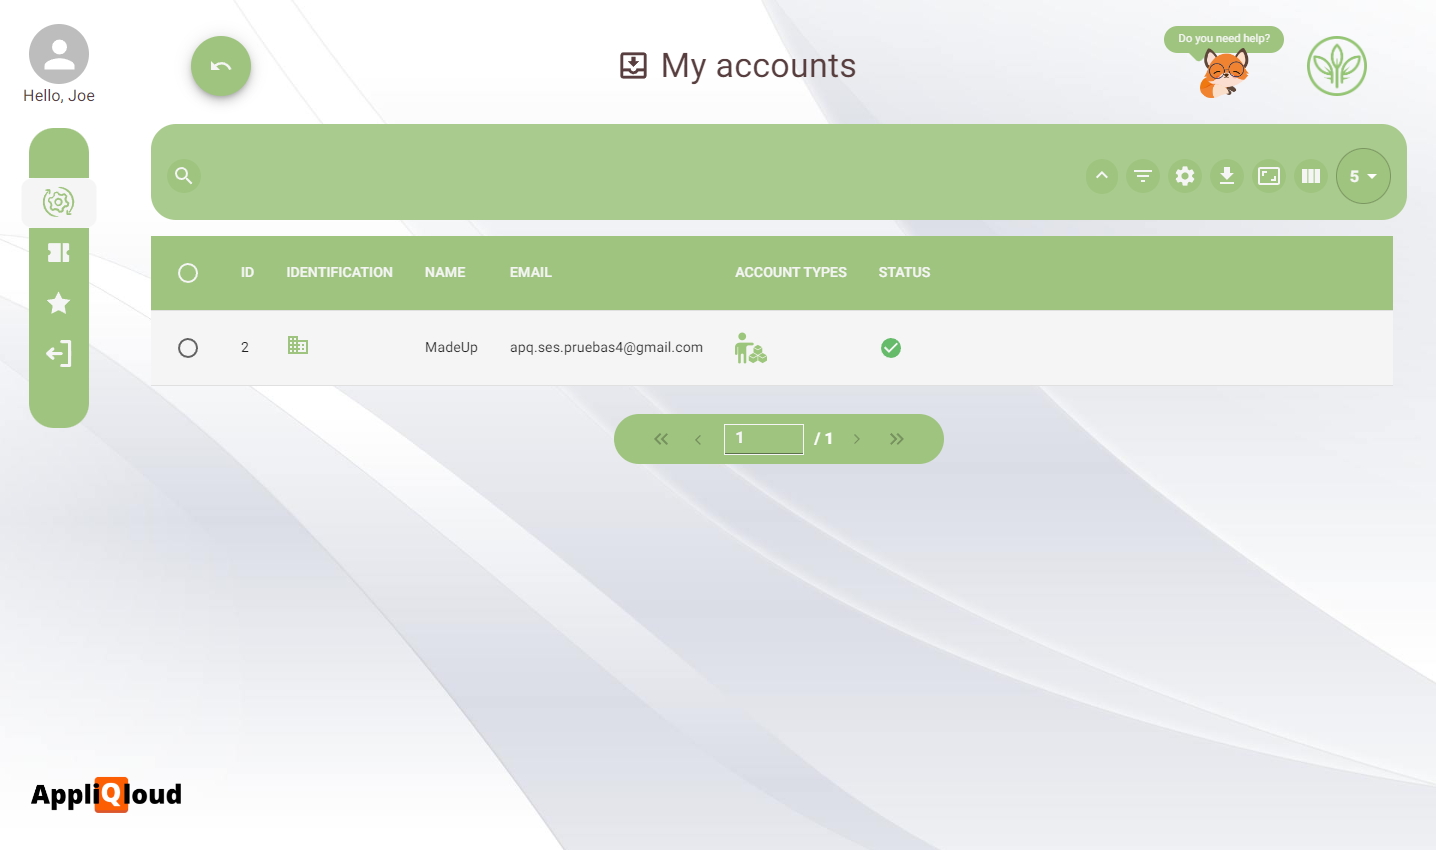
As of now, we have completed the business partner creation process from the perspective of the AppliQloud administrator, either by creating it manually or sending out an invitation. What these two processes have in common is the next step in the business partner workflow, which is to let the business partner check or complete their information, and request approval so that they can start to be a part of the business processes. To ilustrate this, we will enter AppliQloud as the John Bloggs user, created in the self-registration guide. This user is a contact of the MadeUp business partner and has a business profile that allows them to manage their own environment. We can see that this user only has two card groups. We will enter the MY ACCOUNTS card group and enter the application through the card.
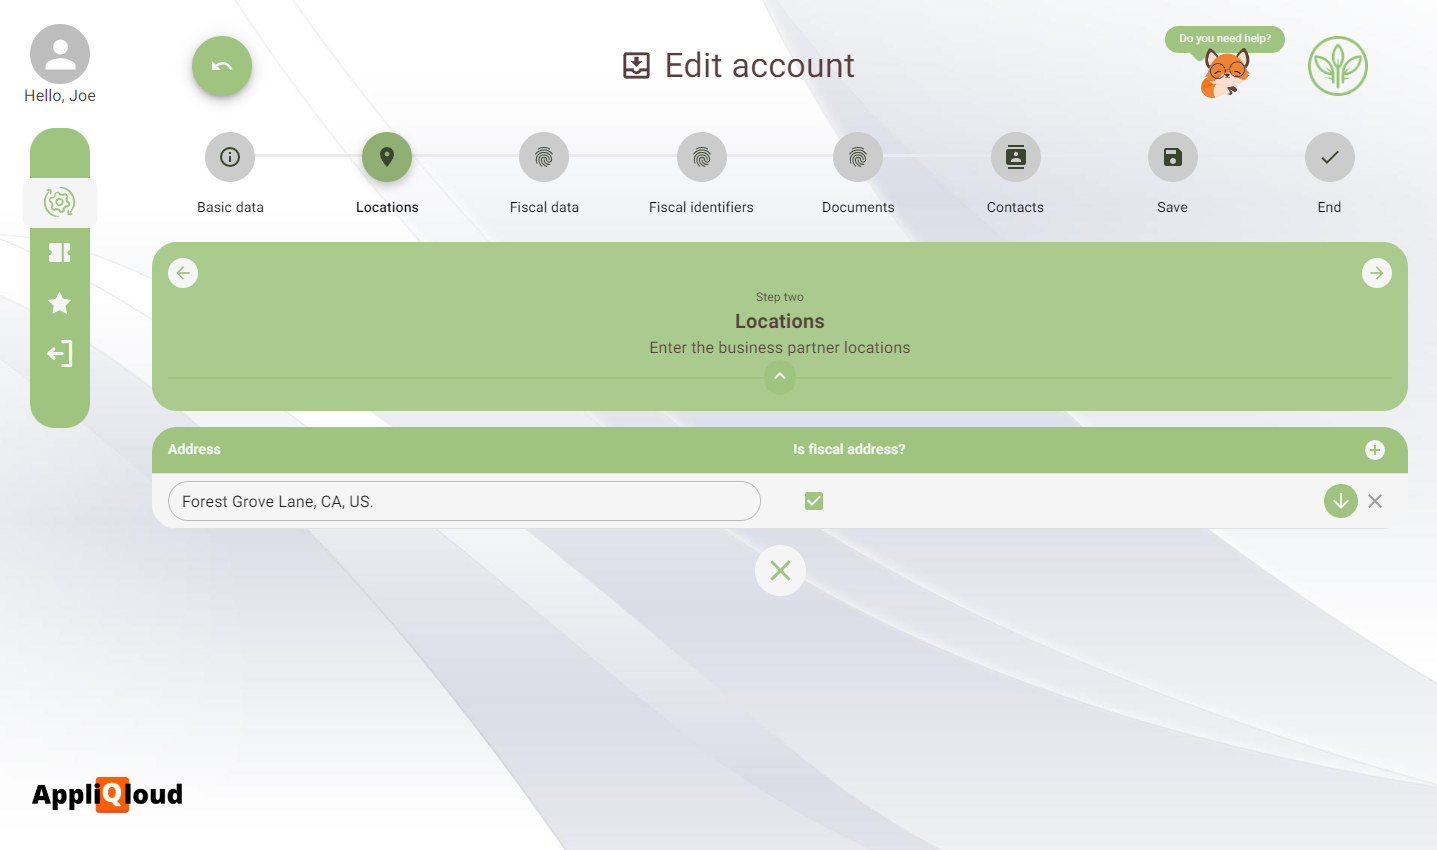
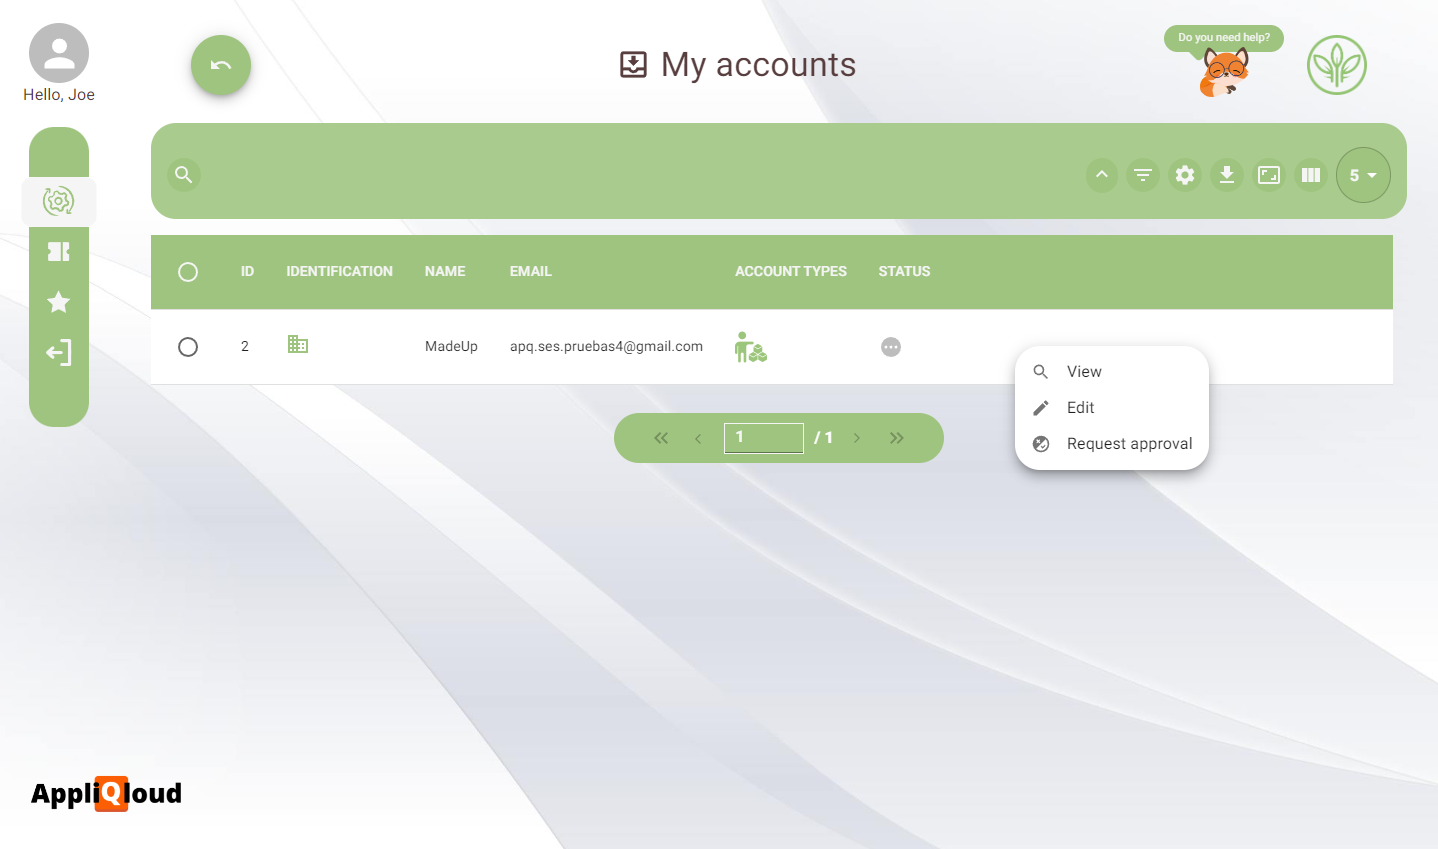
Even though the name is different, this is the exact same business partners app. Here, the user can only see the business partners that he is a contact of, in this case, the MadeUp company. Since we created this business partner as a part of the self-registration workflow, it does not have any information. We will click on the entry and select the Edit action.

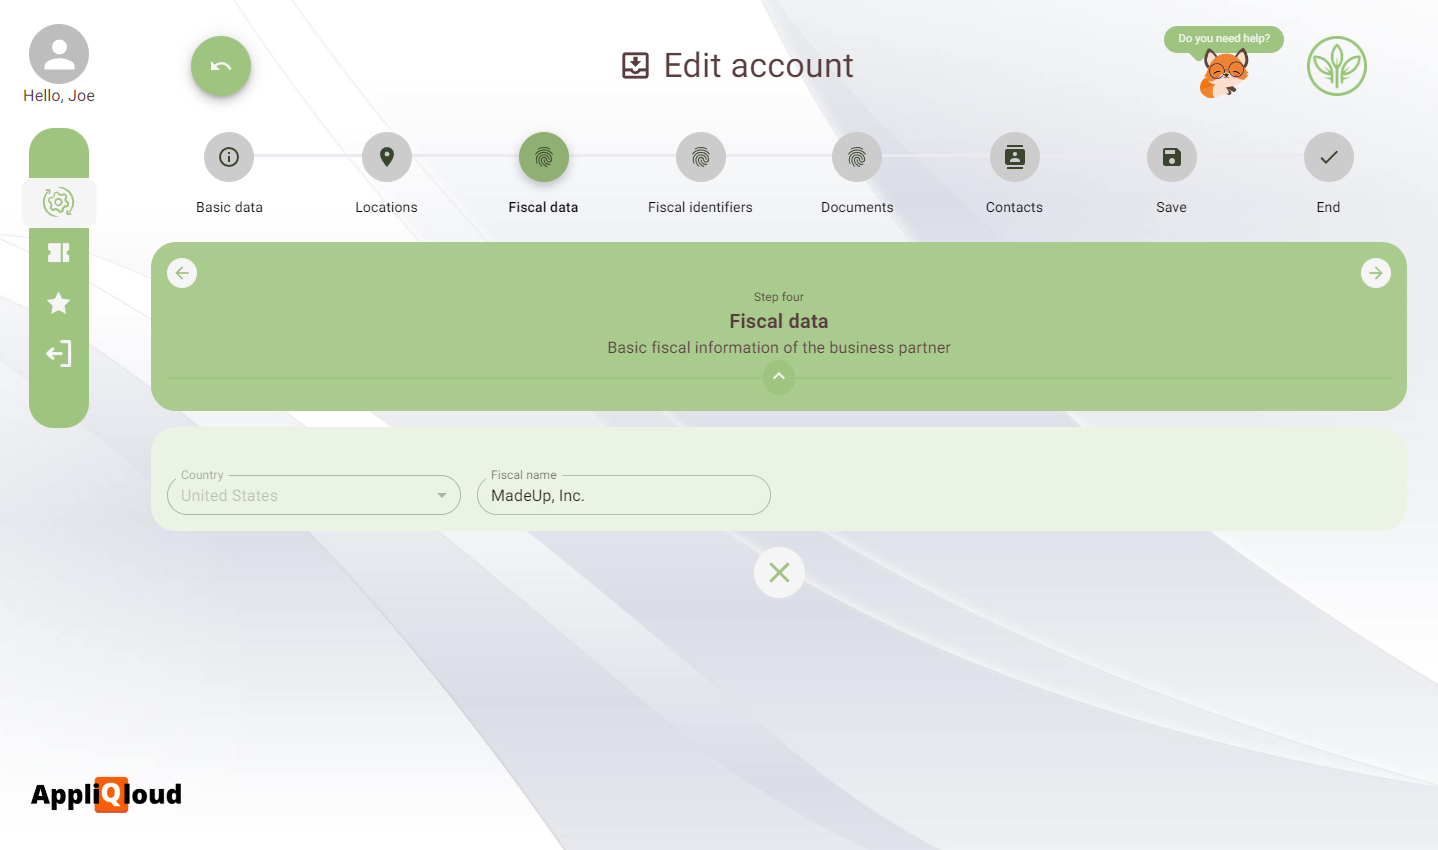
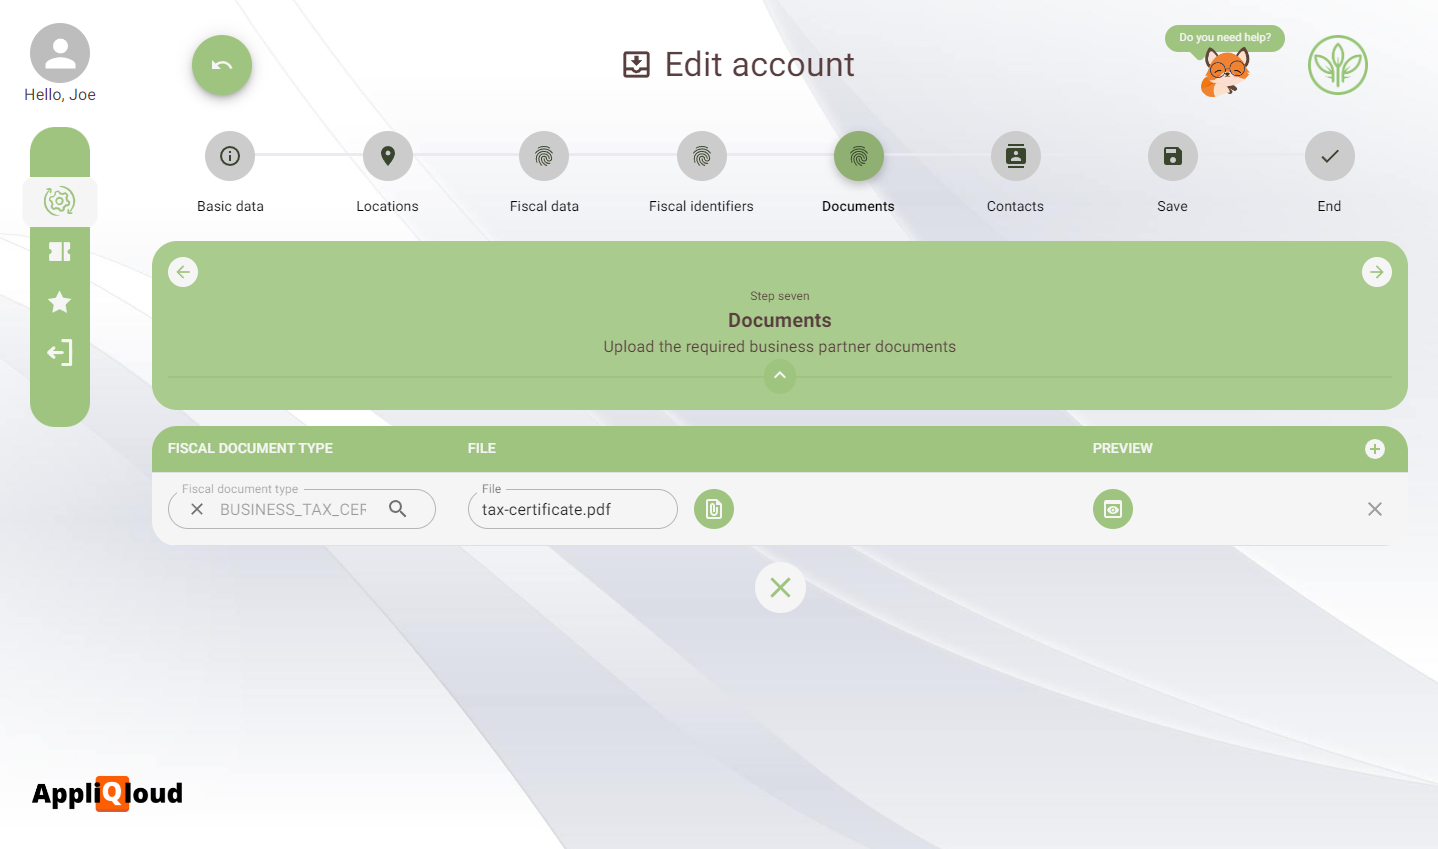
The form is pretty much the same as the one found in the business partners app, with the only difference that the contact cannot modify the business partner types or the backend mappings. We will fill out the form with the data.
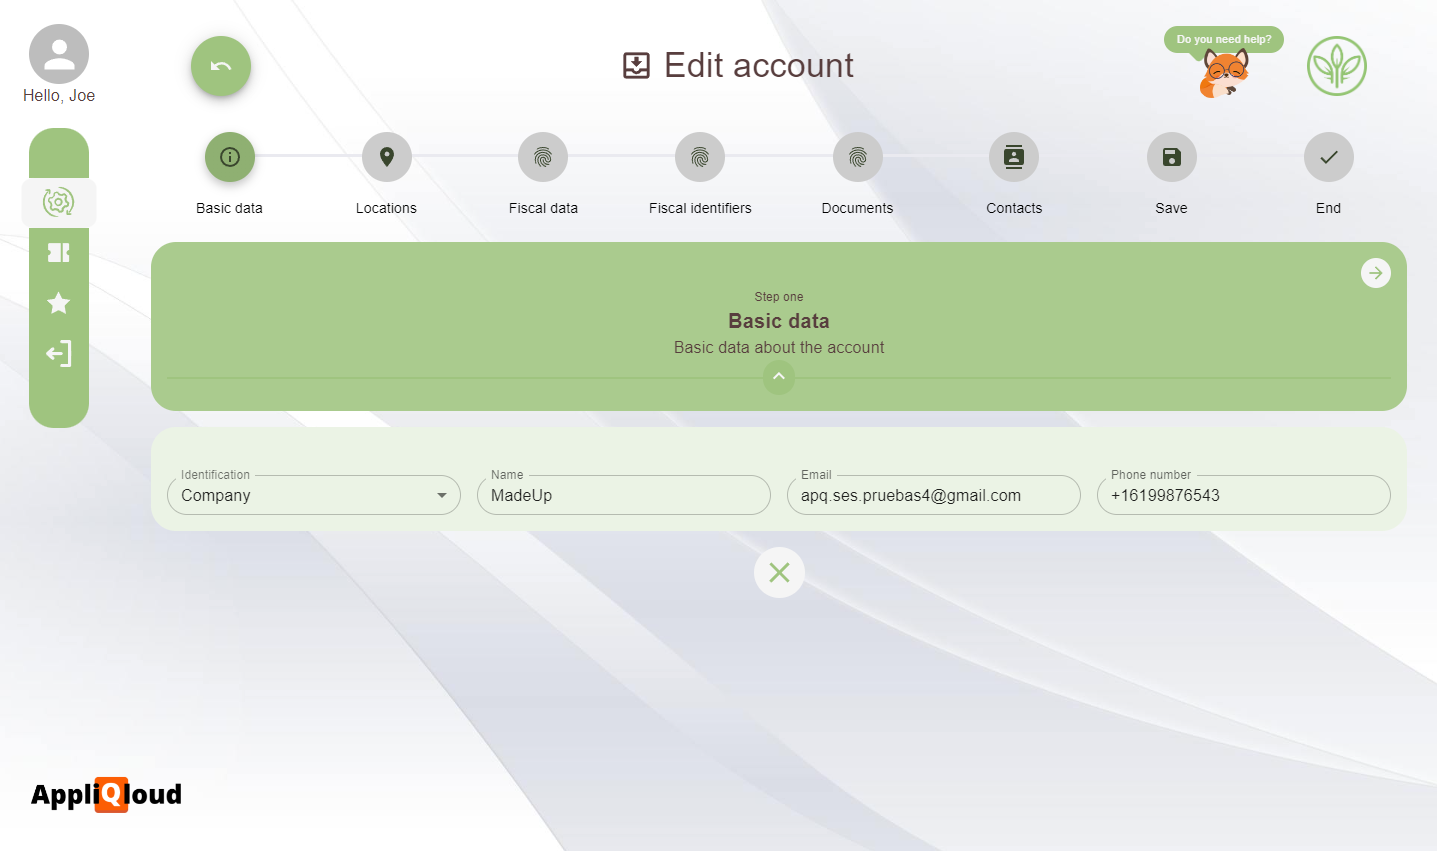

This is the preferred workflow for filling out information on business partners, since it allows them to enter their own data and reduces the chance of uploading incorrect data. You can still fill out the information for them in the business partners application, but they will need to confirm that the information is correct by requesting approval.
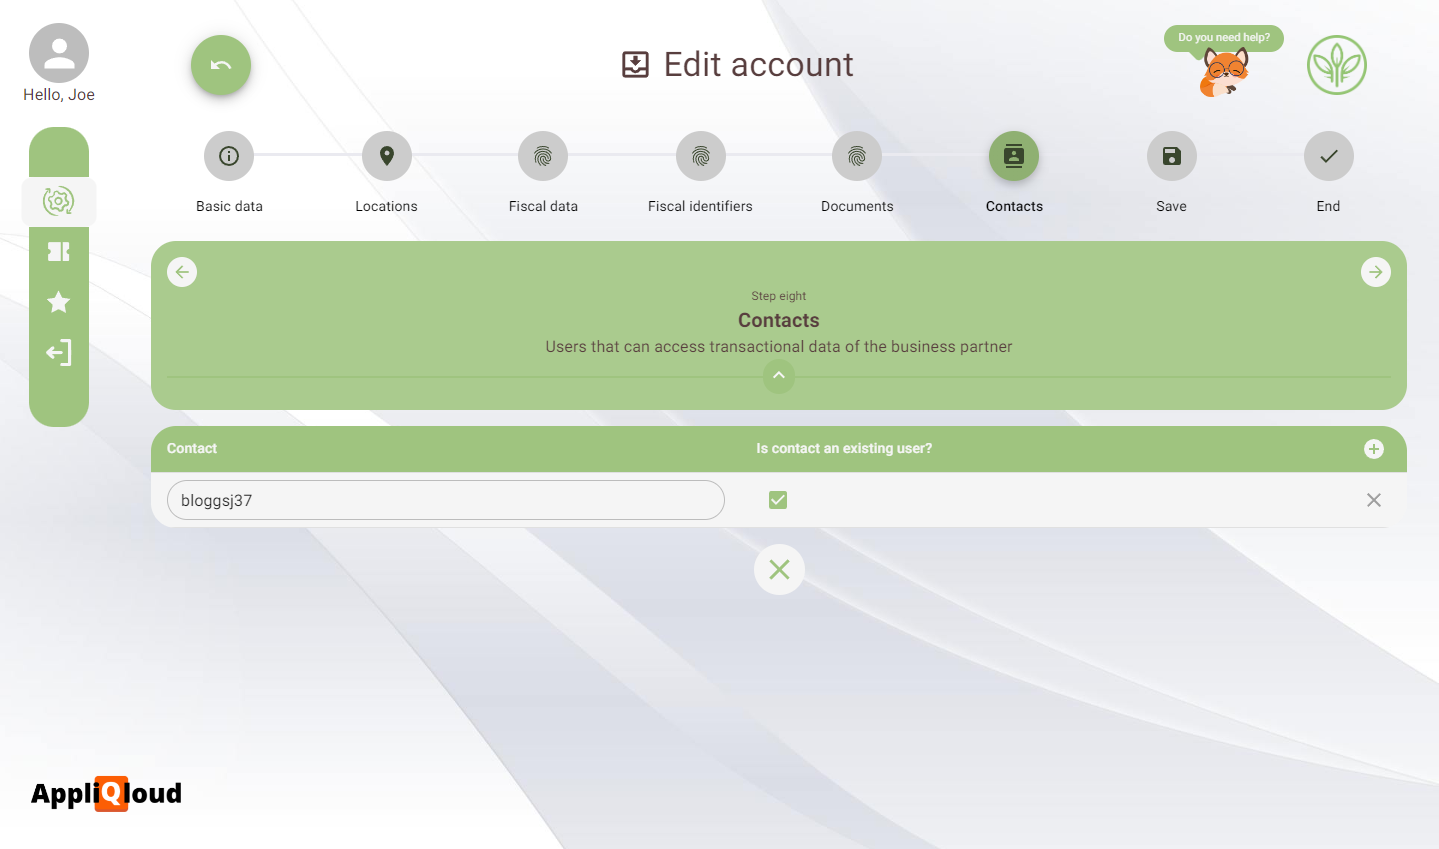
In the contacts step, the business partner can choose to select their notification channels. This will make it so that every time a transactional object is created, cancelled or changes status, their contacts will be notified through those channels.
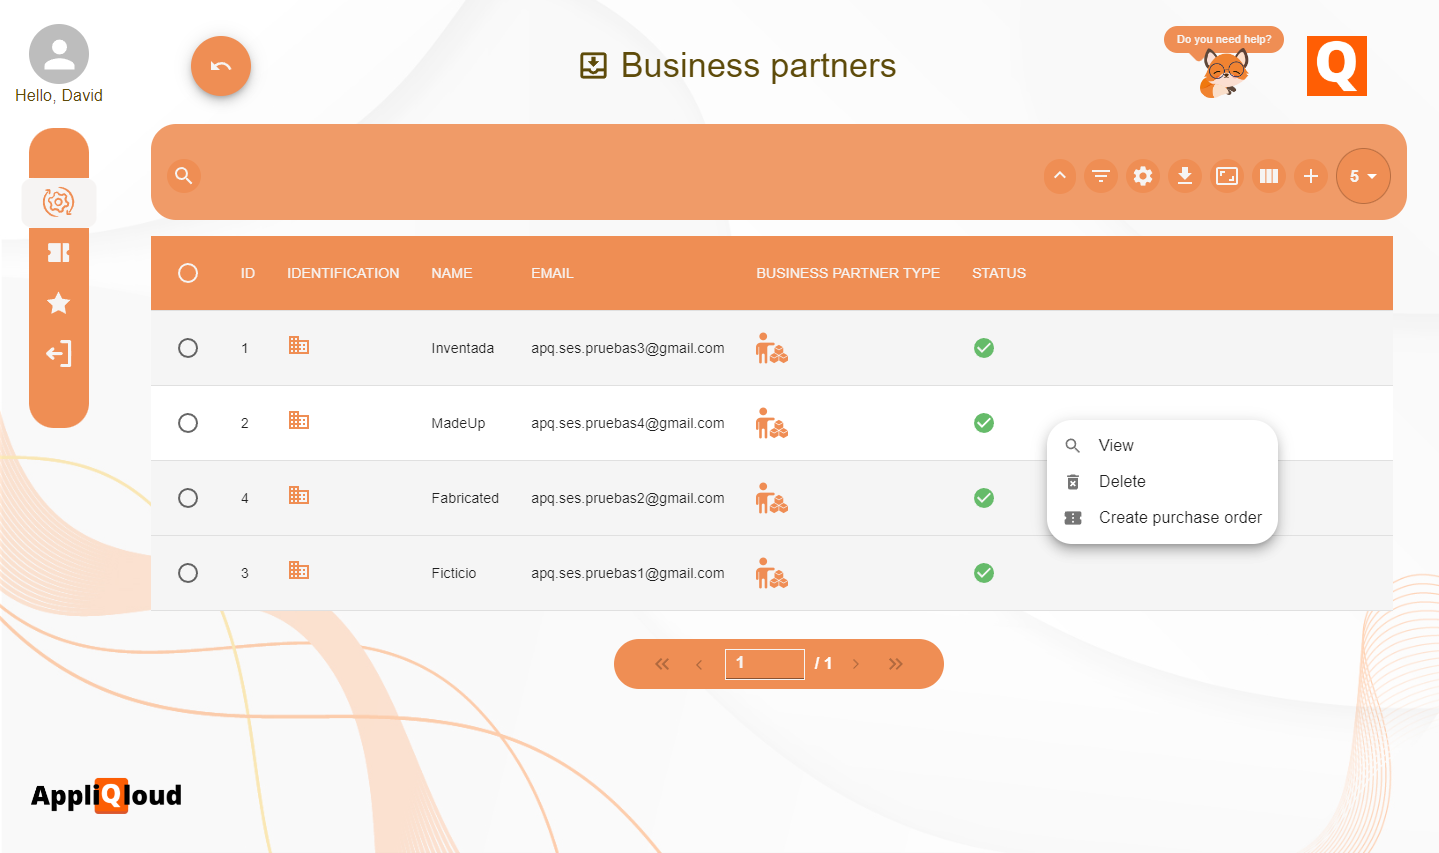
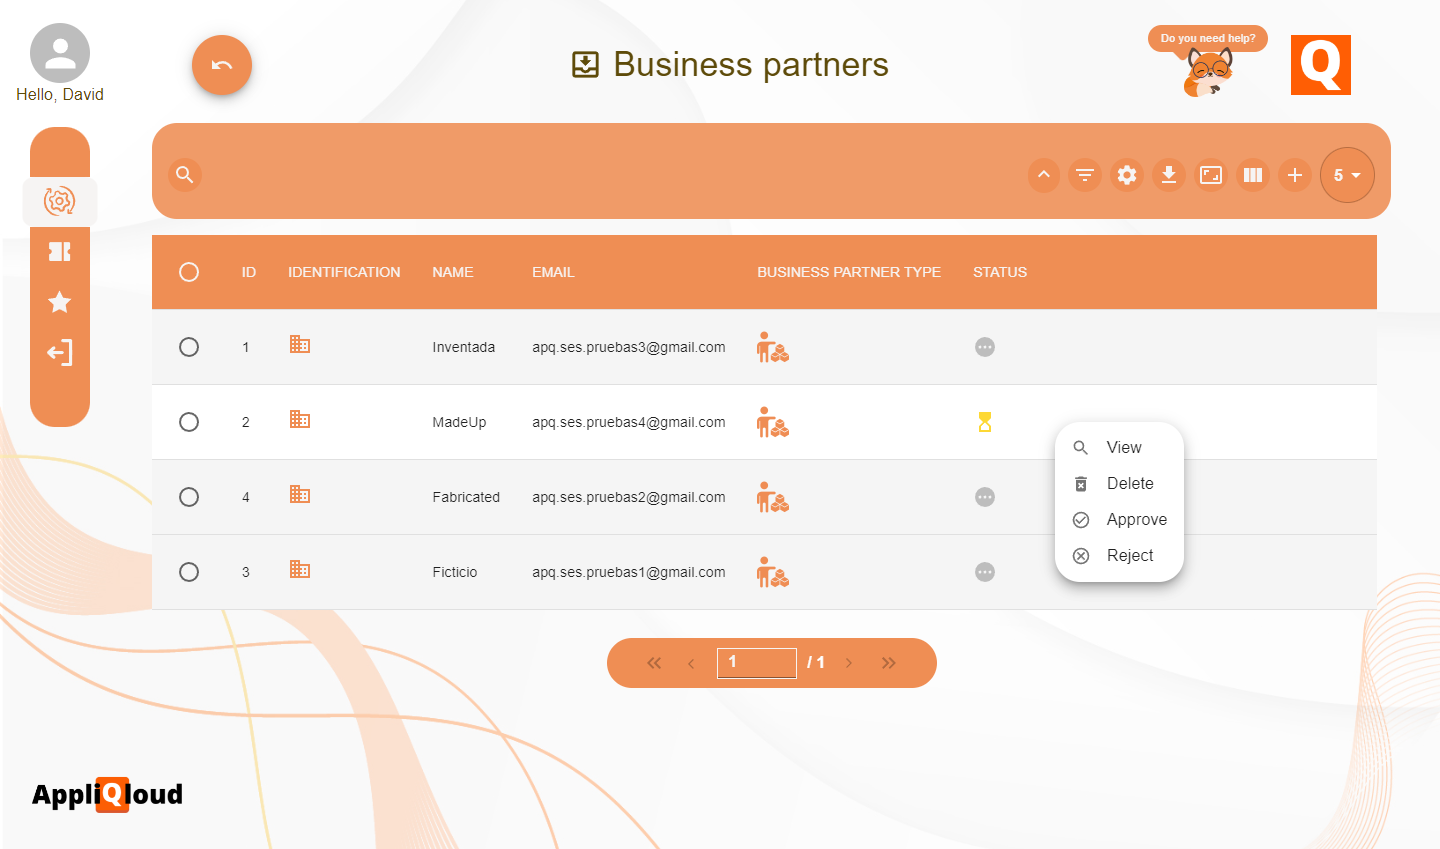
Once we have entered all of the data and saved the entry, the next step is to request approval. This process allows the admnistrator to verify sensitive data like fiscal identifiers and documents before allowing transactional data to be created for this partner. Click on the request approval action and verify that the status column changes.

Now, from the perspective of the system administrator, we can see that the status has changed, and the actions have changed too. We can either approve or reject the approval request. For the sake of guiding you through the entire flow, we will reject this request and add a comment indicating that they should double check their fiscal address postal code and their fiscal identifier.

The business partner will now see that their request has been rejected, and by hovering on the status icon, get more insight on the reason. We will perform the changes needed and request approval once again.
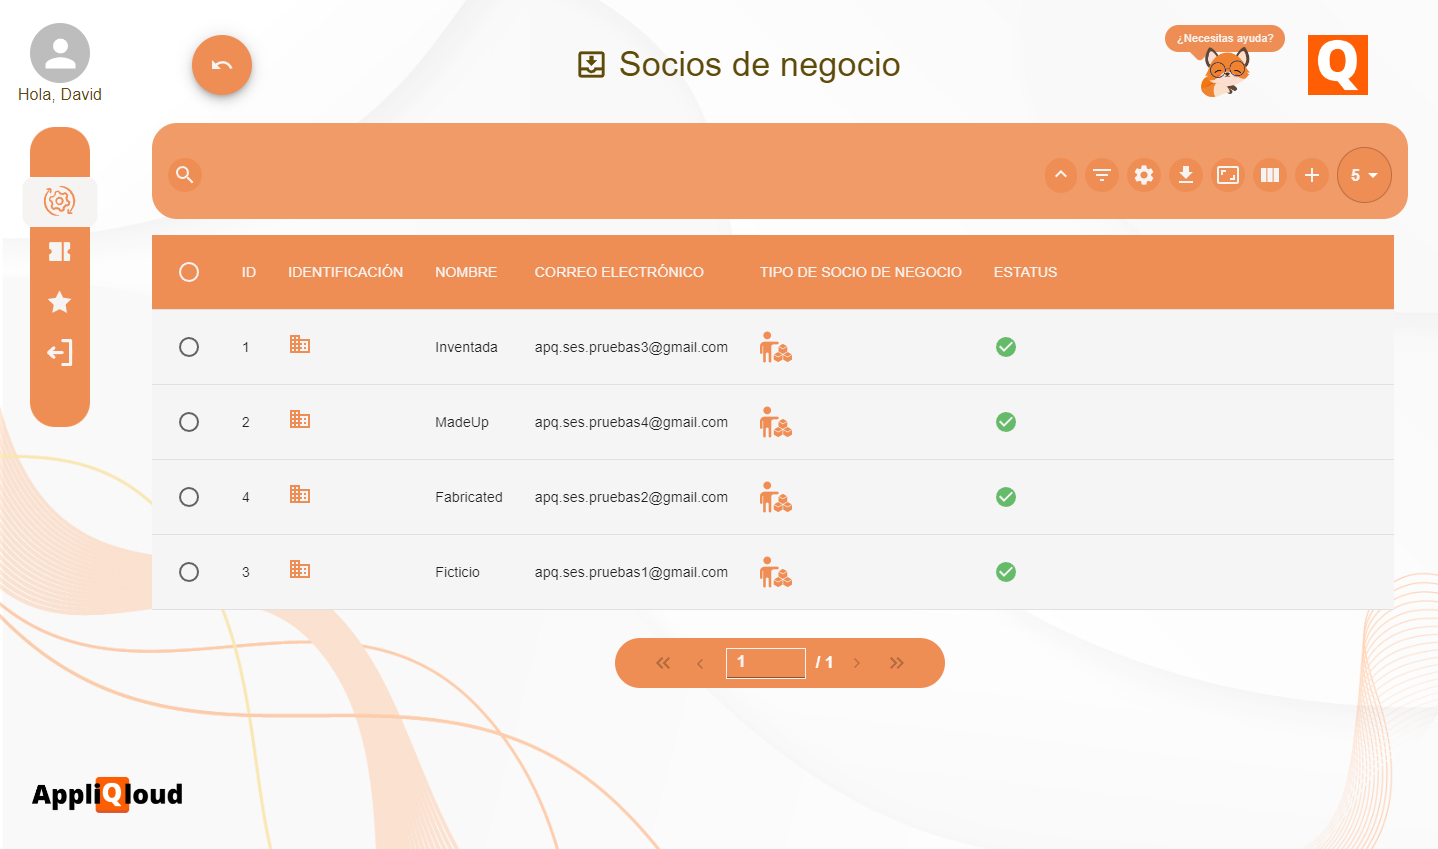
Now, we can approve the request in the administrator account, and verify that the status is now approved for both perspectives.
Now, purchase orders can be created for this business partner, either through the dedicated app, or the Create purchase order action.